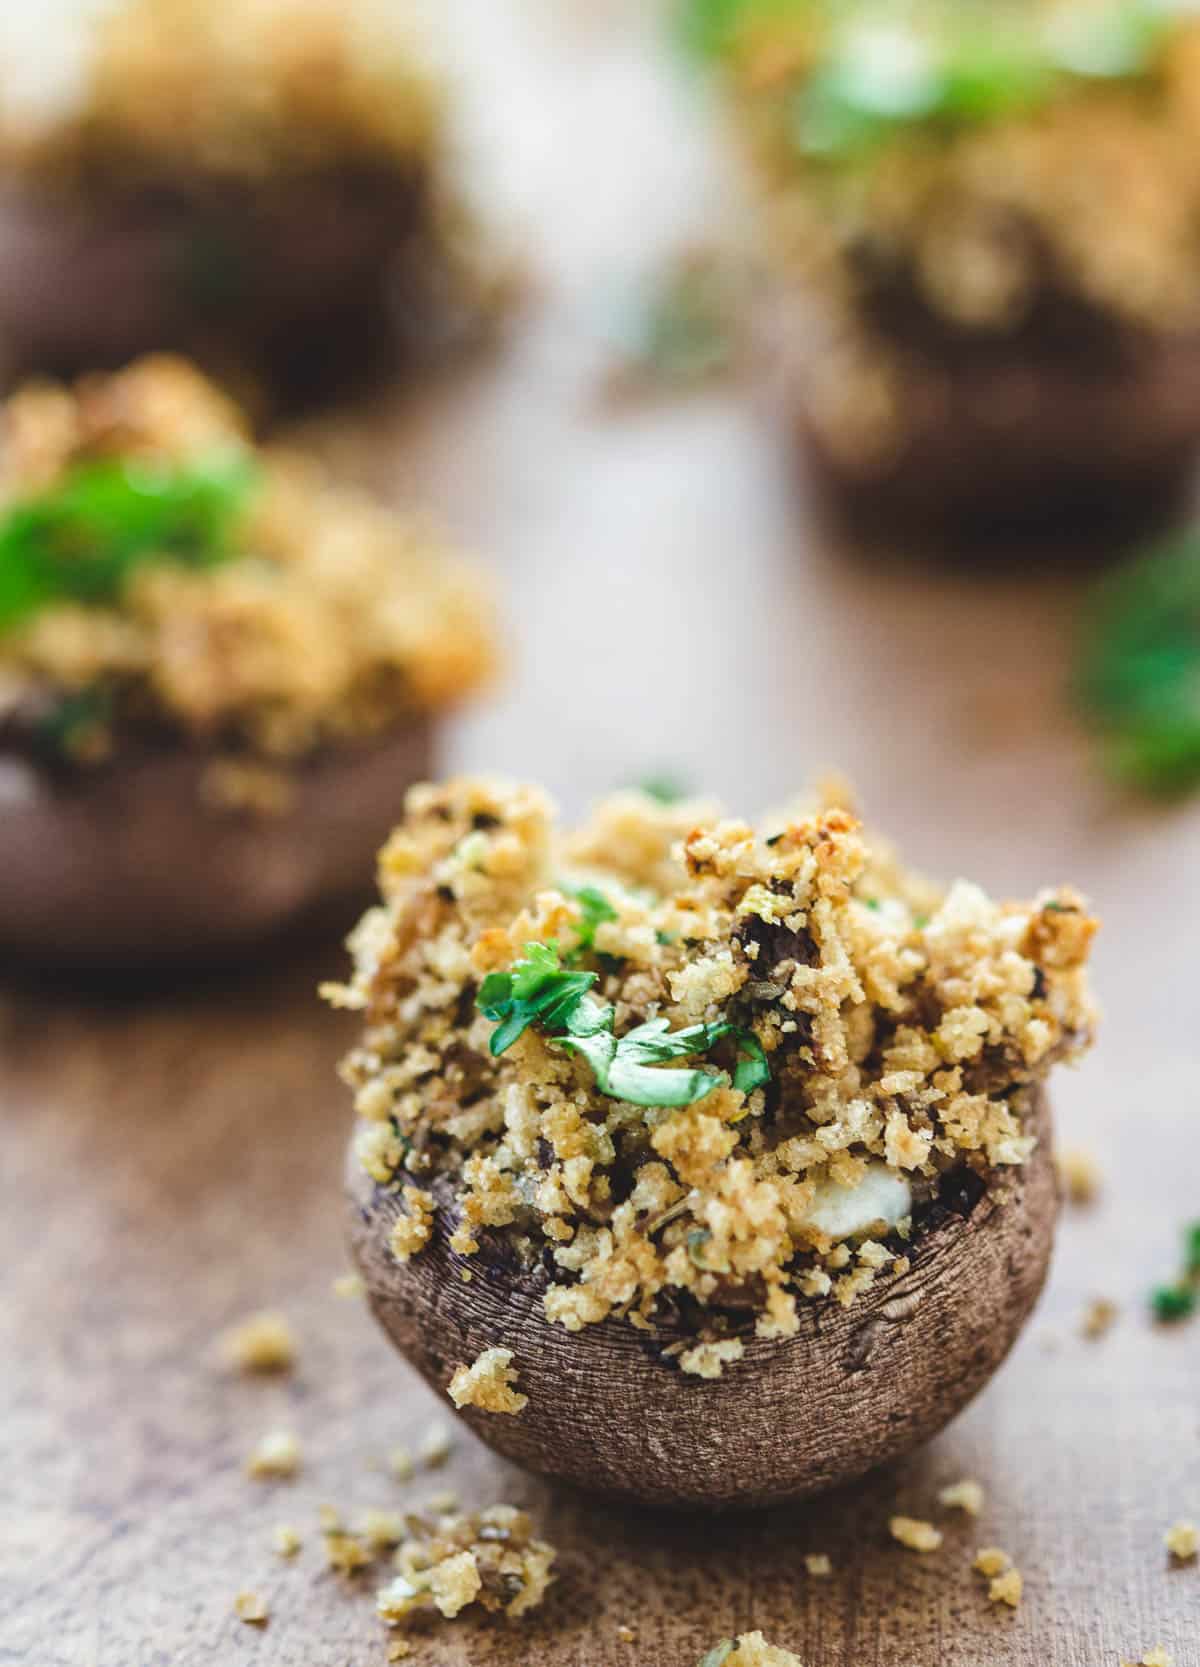
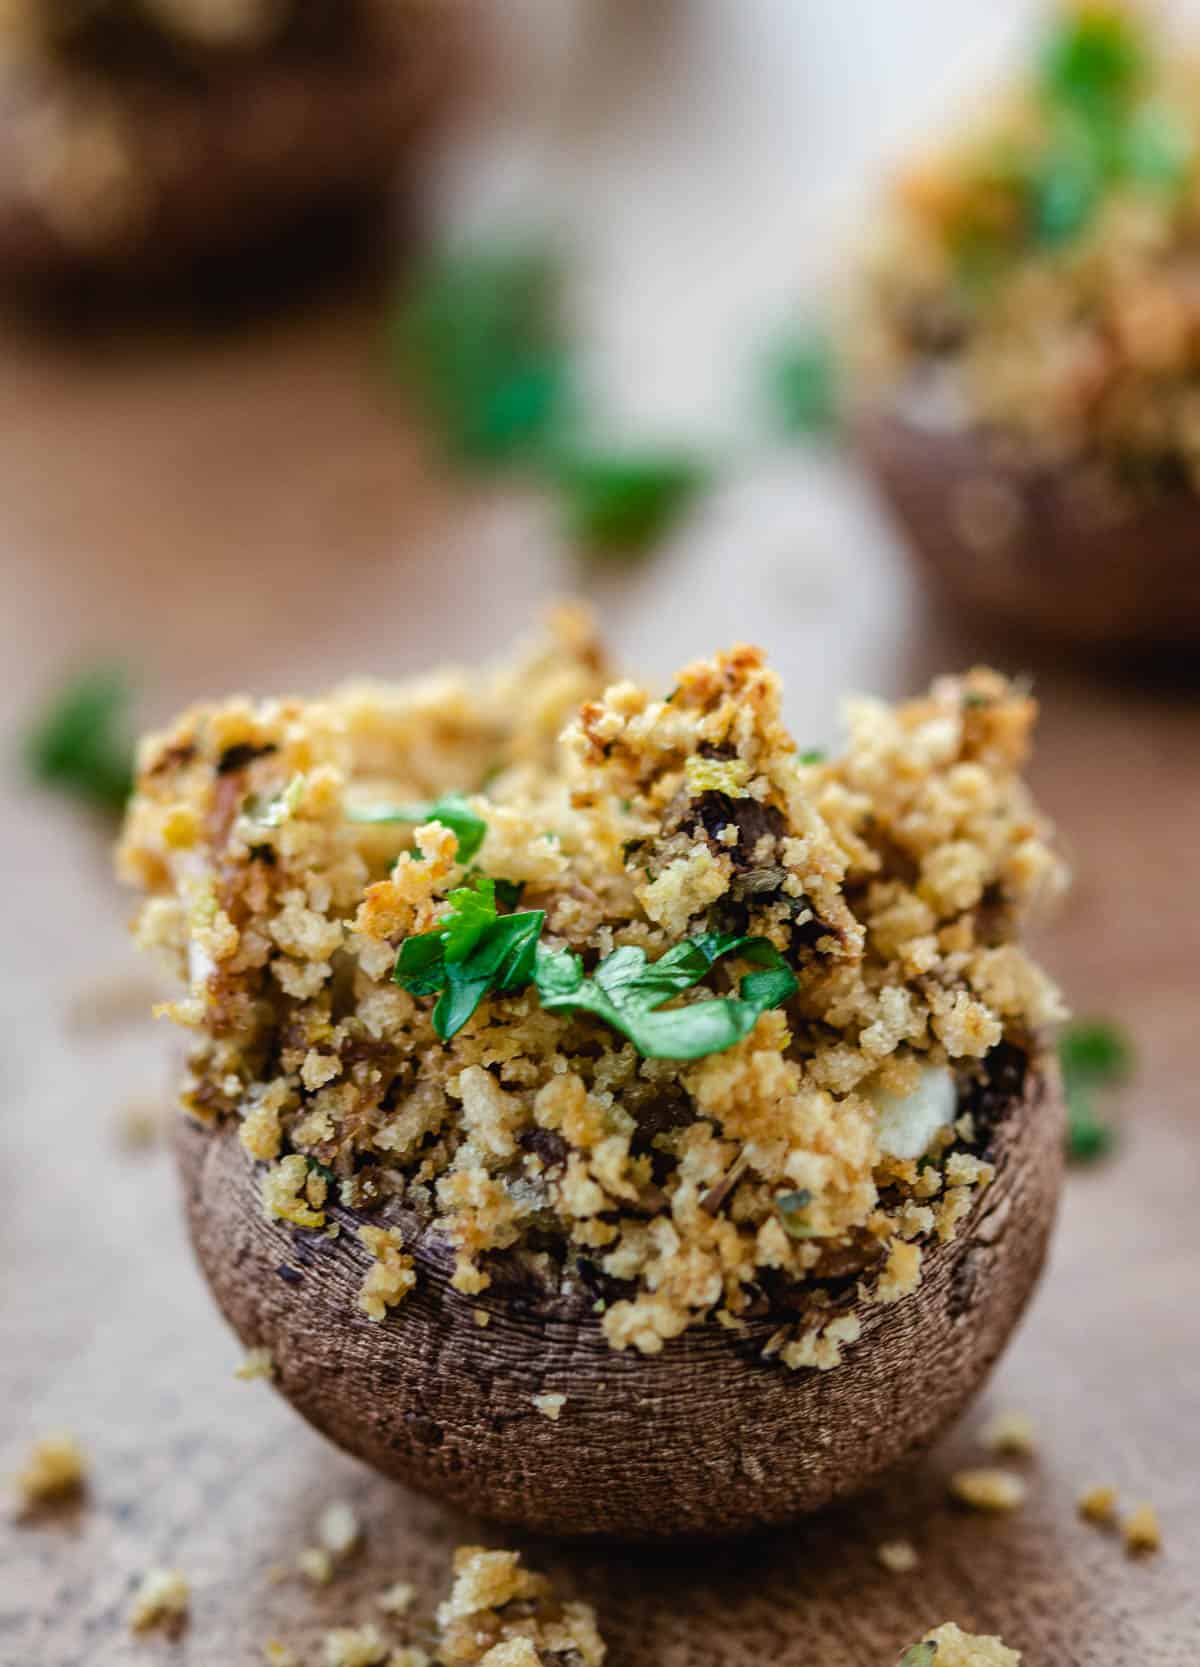
These easy vegan stuffed mushroom caps are filled with shallots, garlic, herbs, and panko breadcrumbs and baked until golden brown. Each bite is filled with flavor! They’re moist yet oil-free, healthy, and can easily be made gluten-free!
Save This Recipe
Jump to:
Stuffed mushrooms are the first thing that pops into my head when I think of appetizers! It’s one of those easy vegan appetizers you return to time after time. This recipe can easily be adapted to be gluten-free.
Why You’ll Love These Vegan Stuffed Mushroom Caps
Simple Ingredients: You’ll only need a few basic ingredients to make these stuffed mushrooms.
Easy: This is an easy recipe that’s ready in just about 35 minutes.
Vegan: Most stuffed mushrooms are vegetarian. However, these are truly vegan because they use nutritional yeast to give them their cheese flavor.
Versatile: These make an excellent appetizer for any event, and they even make a great side dish!
Ingredients and Notes
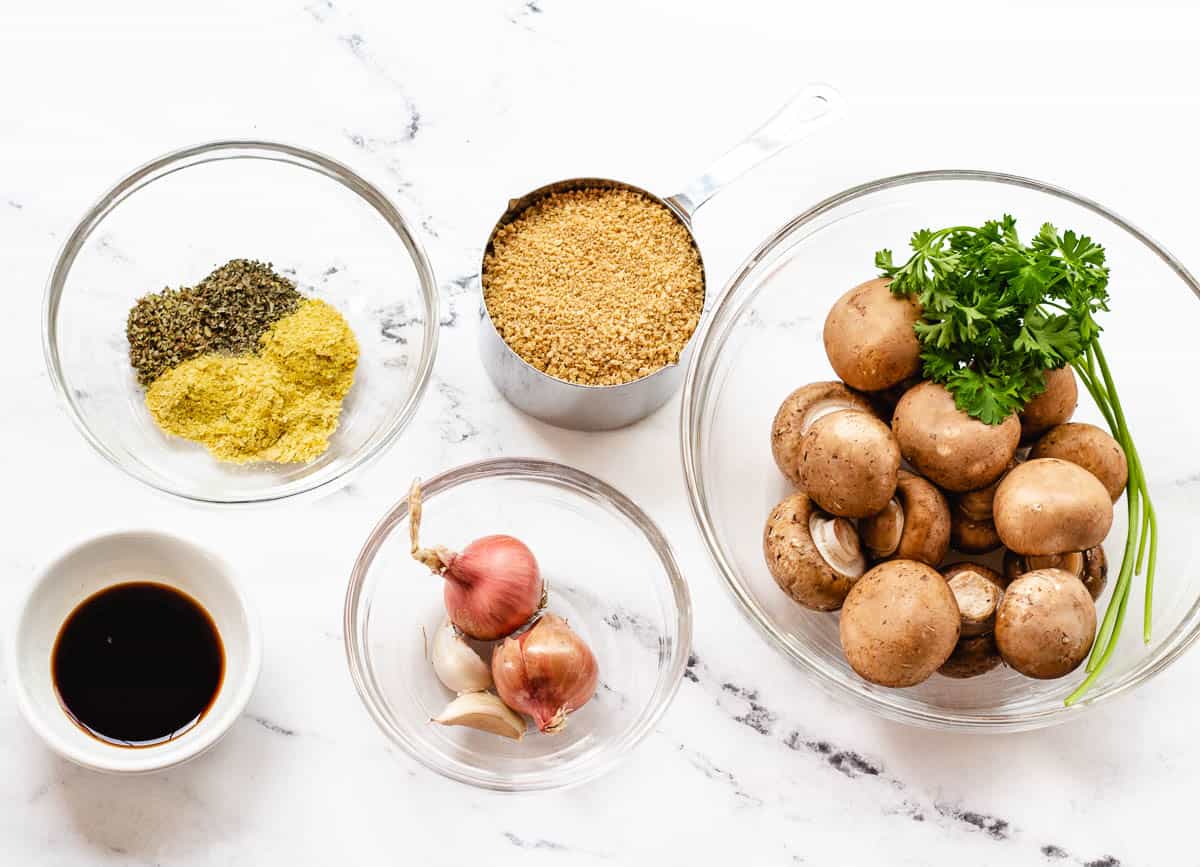
Mushrooms: Mini Bellas have a meaty flavor and texture and are large enough to accommodate the filling.
Breadcrumbs: Panko breadcrumbs make the filling base.
Nutritional Yeast: Nutritional yeast takes the place of parmesan cheese.
Shallots and Garlic: Shallots and garlic add a subtle aromatic flavor to the breadcrumb mixture.
Herbs: A blend of basil and oregano adds a classic Italian pop of flavor to the filling.
Soy Sauce: Soy sauce moistens the breadcrumb mixture and adds a salty flavor.
Pine Nuts: Topping the mushrooms with pine nuts adds more flavor and texture.
See the recipe card at the end of the post for a full list of ingredients and their exact amounts.
Substitutions and Variations
Mushrooms: Large white cap or white button mushrooms will work well.
Shallots: Use ¼ cup of finely diced onions if you don’t have shallots.
Herbs: Rosemary and thyme are wonderful herbs for this recipe.
Walnuts: Walnuts work well in place of pine nuts.
Gluten-Free: Use gluten-free breadcrumbs for a gluten-free version.
Nut Allergies: Simply omit the nuts!
How to Make Vegan Stuffed Mushroom Caps
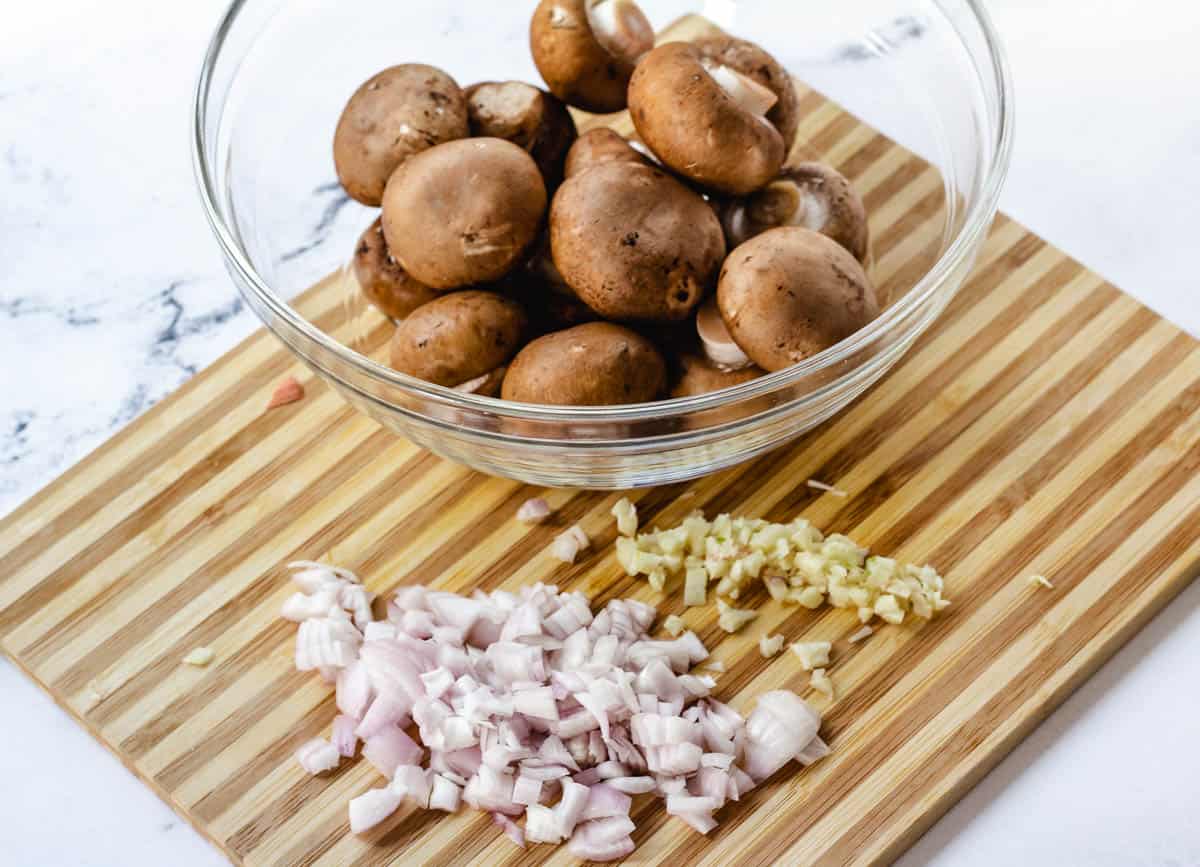
- Clean the mushrooms. Then, slice off the stems and finely dice them. Finely dice the shallots and mince the garlic.

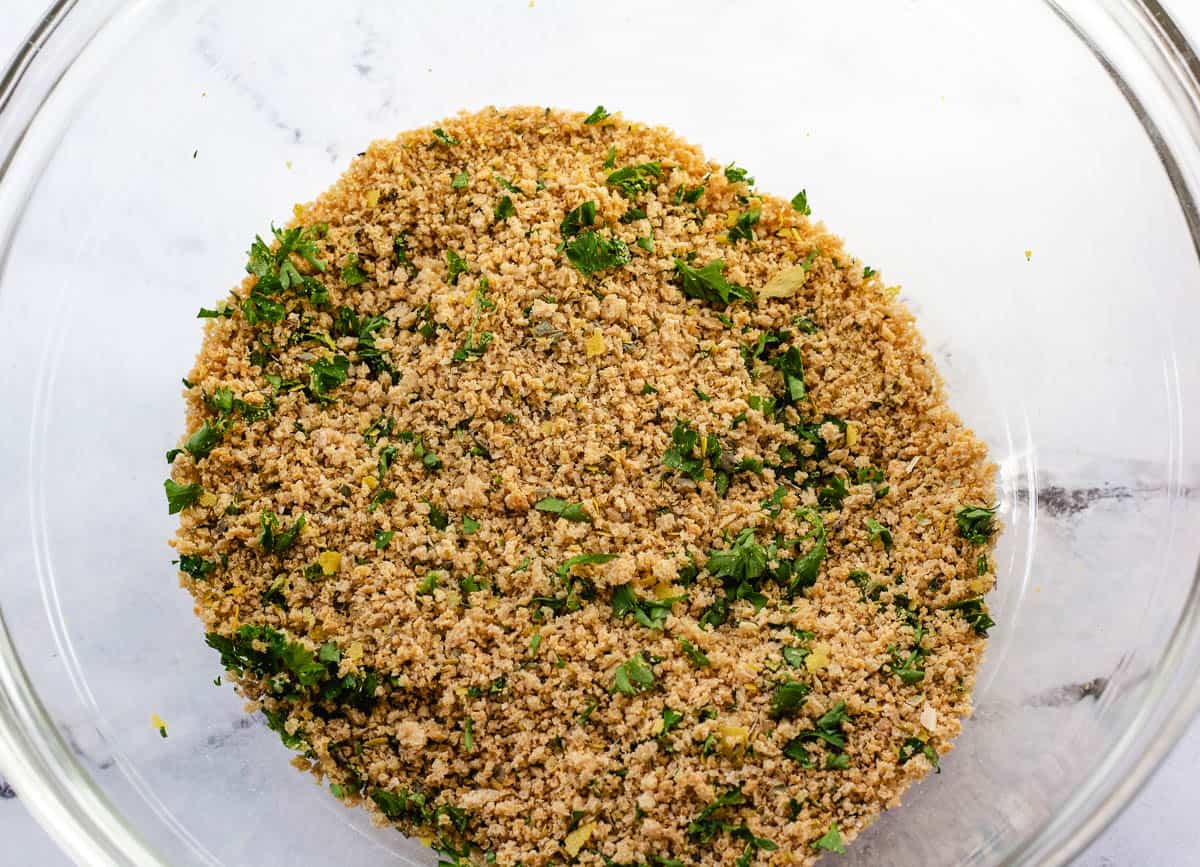
- Combine the breadcrumbs, nutritional yeast, and seasonings in a bowl.
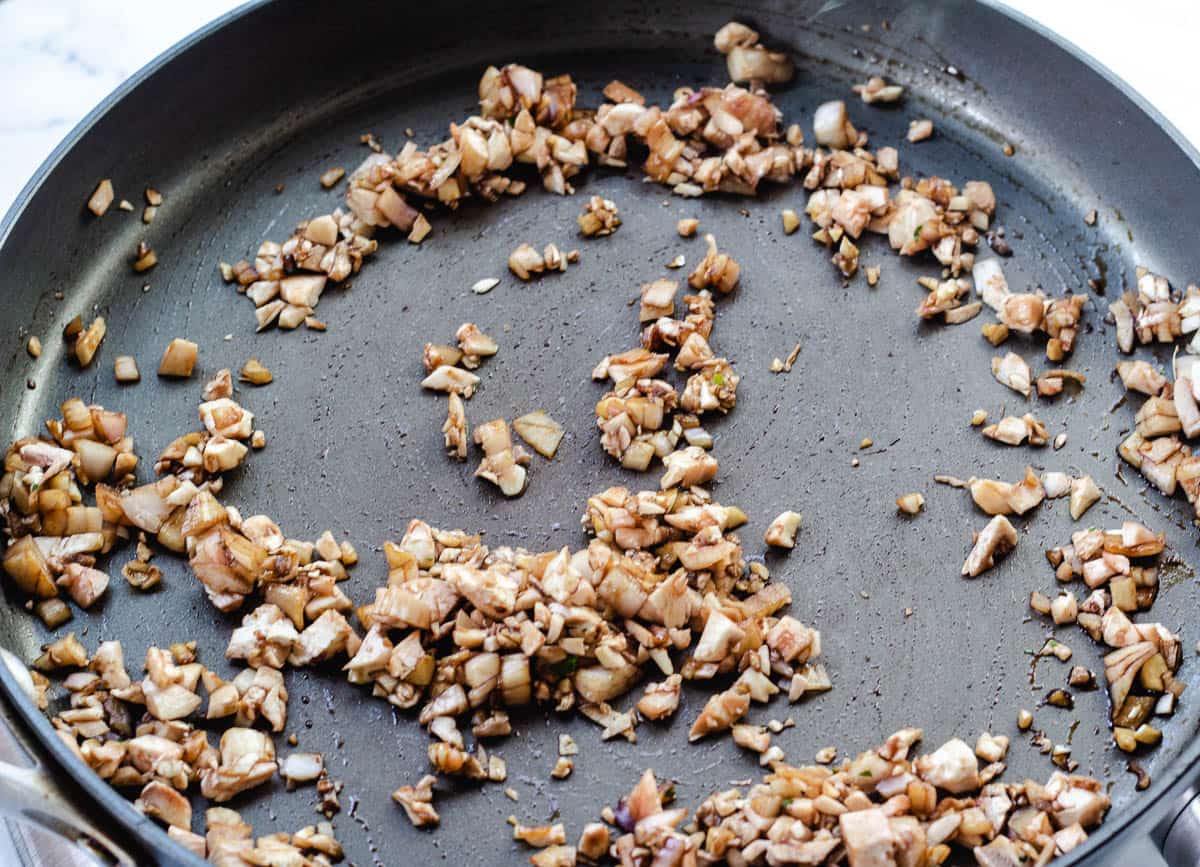
- Saute the shallots and garlic in a little soy sauce until soft. Then, add the mushroom stems and saute for another 2 to 3 minutes.
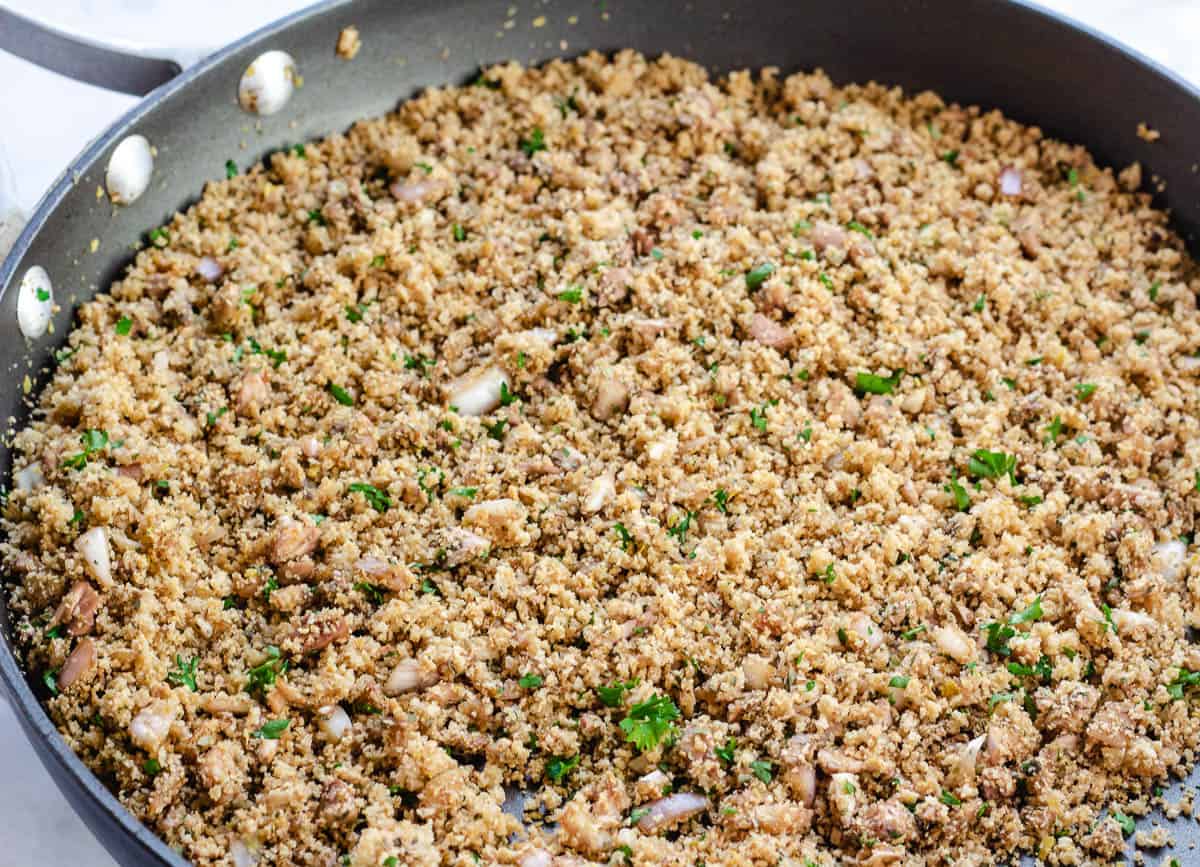
- Add the breadcrumb mixture to the pan. Stir to combine. Add an additional tablespoon of soy sauce or a pinch of salt if needed. Toast the breadcrumbs for 2-3 minutes.
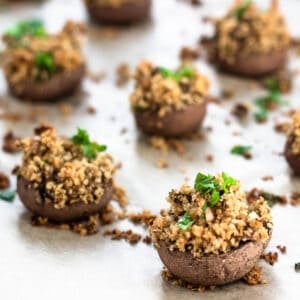
- Line a baking sheet with parchment paper. Stuff each mushroom with the breadcrumb filling.
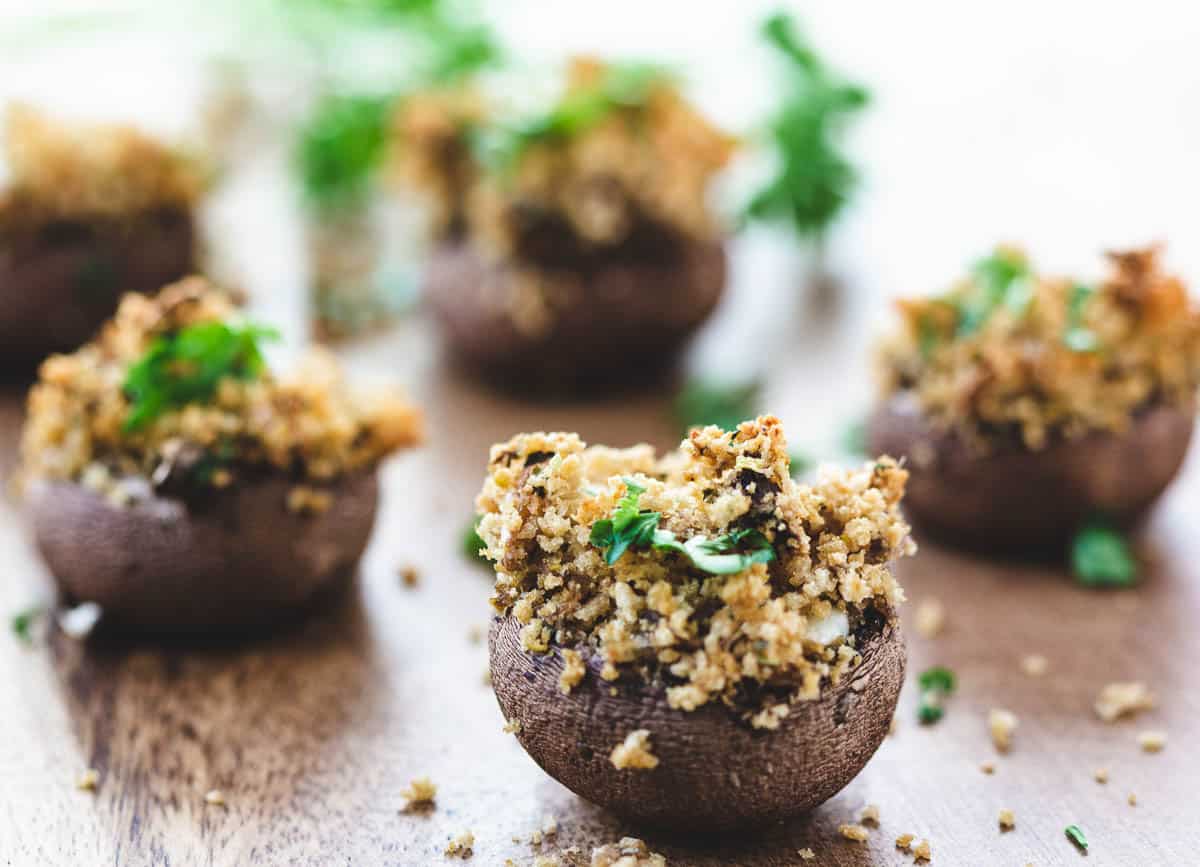
- Bake the stuffed mushrooms on the baking sheet until golden brown. Remove from the oven. Garnish with fresh parsley. Serve and enjoy!
FAQ
If you have soggy mushrooms, it is likely because you washed them in water. The best way to keep your mushrooms from becoming soggy is to use a damp cloth to wipe the dirt off the mushrooms. Another way to prevent soggy stuffed mushrooms is to bake them at a higher temperature for a shorter time. For example, try baking them at 400° F for 15 minutes.
Most mushrooms that you buy at the store will have been mostly cleaned. There may, however, be some remaining dirt. Too much water or moisture with mushrooms is the cause of a soggy texture. It can also cause them to become slimy or even gray!
Make this gluten-free recipe using gluten-free breadcrumbs, and substitute the soy sauce for tamari.
There are many different mushrooms to choose from. I suggest using mini bellas or cremini mushrooms. Turn this recipe into a main course by using four large portobello mushrooms.
Expert Tips
- Don’t wash the mushrooms in a bowl of water. That causes them to soak up the water and results in mushy mushrooms. Don’t rinse them under the faucet; that also allows them to soak up too much water. Instead, use a damp cloth or paper towel to wipe the dirt off of the mushrooms.
- The easiest way to remove the stems of the mushrooms is to use a paring knife. Slice around the outside of the stem, and lift the knife to pop the stem out of the mushroom cap.
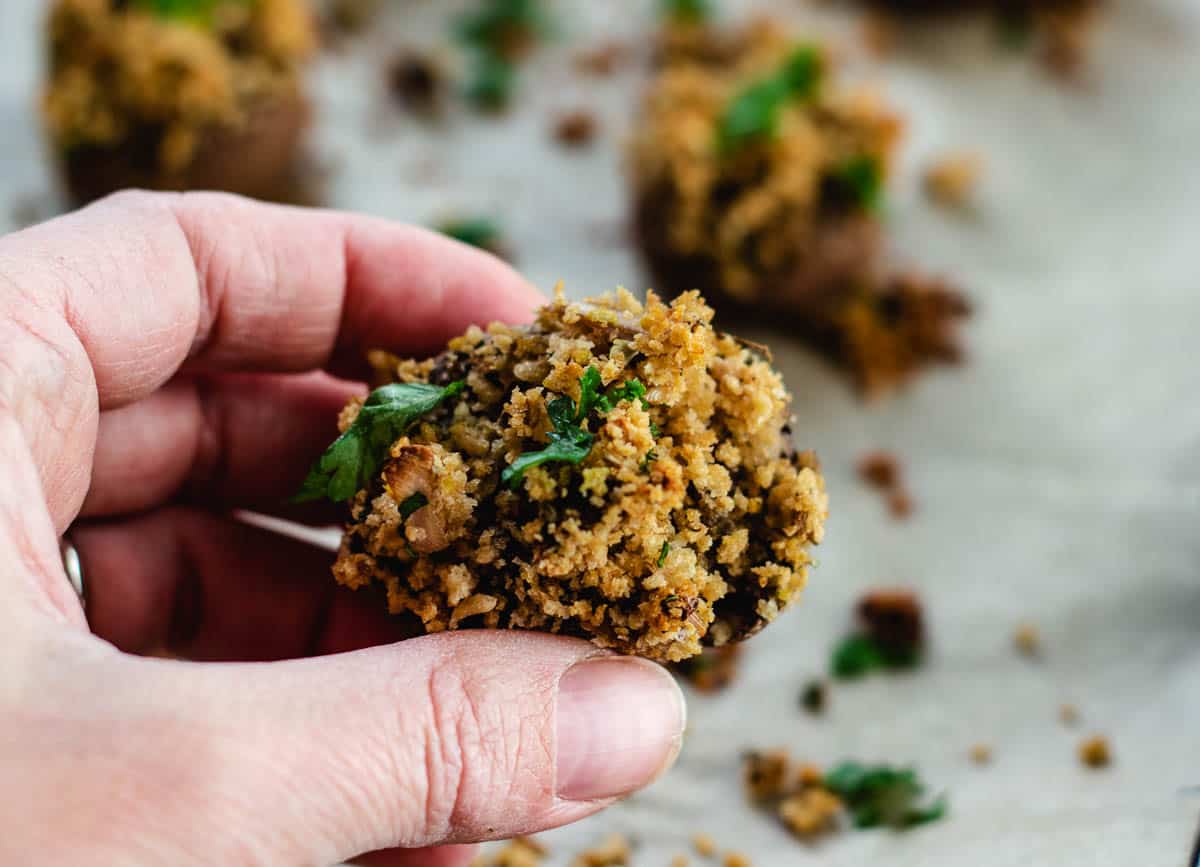
- You can stuff more filling into the mushroom caps by adding a little at a time and gently pressing down before adding more.
- You’ll likely have a little extra filling left over.
Serving Suggestions
Serve these mushrooms as an appetizer or a side dish with fresh lemon juice! It has Italian seasoning and tastes excellent, as do other Italian main dishes like vegan stuffed shells or creamy vegan mushroom pasta.
Storage
These mushrooms are best enjoyed fresh, warm, and out of the oven. However, you can store leftovers for a couple of days if you have them.
Refrigerator: Store for up to 2 days in an air-tight container.
Freezer: Freezing these mushrooms isn’t recommended
Reheat: Place the mushrooms on a baking sheet lined with parchment paper and bake them for 5 to 7 minutes at 350 until warmed.
🎥 Video
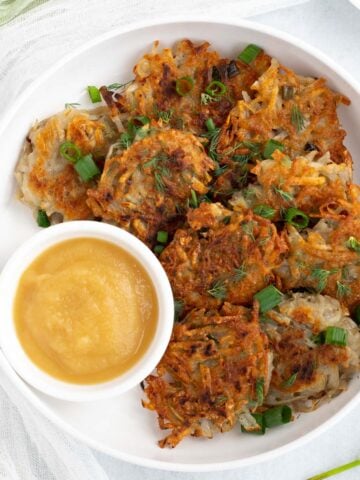
More healthy vegan appetizers!


Recipe
Vegan Stuffed Mushroom Caps
Equipment
- Damp Cloth
Save This Recipe
Ingredients
- 20 mushrooms (mini bellas or other type) keep stems
- 1 cup whole wheat panko breadcrumbs
- 2 tablespoon fresh parsley plus more for garnish
- 1 teaspoon basil
- 1 tablespoon nutritional yeast
- 1 teaspoon oregano
- 2 shallots finely chopped
- 2 cloves garlic finely minced
- ¼ teaspoon fresh black pepper
- 1-2 tablespoon soy sauce
Instructions
- Preheat the oven to 350° F. Clean the mushrooms using a damp cloth to remove any dirt. Remove the musroom stems. Finely dice the mushroom caps, shallots, and garlic. and finely dice.
- Combine the breadcrumbs, basil, oregano, parsley, nutritional yeast, and pepper in a medium bowl.
- In a medium pan on medium heat, add 1 tablespoon of soy sauce, add the shallots and garlic. Sauté for 2-3 minutes or until soft. Add mushrooms stems. Sauté an additional 2-3 minutes.
- Add the breadcrumb mixture to the pan. Coat the breadcrumbs in the moisture from the shallots, garlic, and mushroom stems. Add an additional tablespoon of soy sauce if needed. Toast the breadcrumbs for 2-3 minutes.
- Line a baking sheet with parchment paper. Stuff each mushroom with the breadcrumb filling. Stuff as much as you can fit into each mushroom cap gently pressing the breadcrumbs down before adding more.
- Bake the stuffed mushrooms for 20-25 minutes, or until golden brown on top. Remove from the oven. Garnish with fresh parsley. Serve and enjoy!
Notes
- Please don’t wash the mushrooms in a water bowl to clean them. That causes them to soak up the water and results in mushy mushrooms. Don’t rinse them under the faucet; that also allows them to soak up too much water. Instead, use a damp rag or paper towel to wipe the dirt off of the mushrooms.
- The easiest way to remove the stems of the mushrooms is to use a paring knife. Slice around the outside of the stem, and lift the knife up to pop the stem out of the mushroom cap.
- You’ll likely have a little extra filling left over.
- Store the leftovers in the fridge for 1-2 days.
Anjali
We made these stuffed mushrooms as a side dish for dinner last night and they turned out amazing!! They were super easy to make, and were moist and flavorful after we baked them. Love how healthy they are too!
Mahy
I’ve got a whole lot of mushrooms ready to rock’n’roll but I just wasn’t sure what to do with them. Well, this recipe is just what I need, and I can’t wait to try it out!
Jamie
This looks incredible!! I love how it’s vegan so everyone can enjoy this during the holidays! Adding the ingredients to my shopping list now!
Kristin
I love that these are oil-free! Thanks for the great recipe. Can’t wait to serve this as our pre-Thanksgiving dinner appetizer!